Tension, Thread Length, and Needles
Before pulling a needle through cloth, the most common mistake made by novices is cutting an excessively long strand of thread. Thread longer than your forearm (roughly 45 centimeters) will curl, twist around buttons, and tangle into friction knots. Keep your working lengths modest and cut cleanly at an angle.
Matching the needle to the fabric weave is equally vital. A sharp milliner or embroidery needle pierces densely woven calico and linen without puckering, whereas a blunt ballpoint needle is reserved for knits to slide between yarn loops without snapping them.
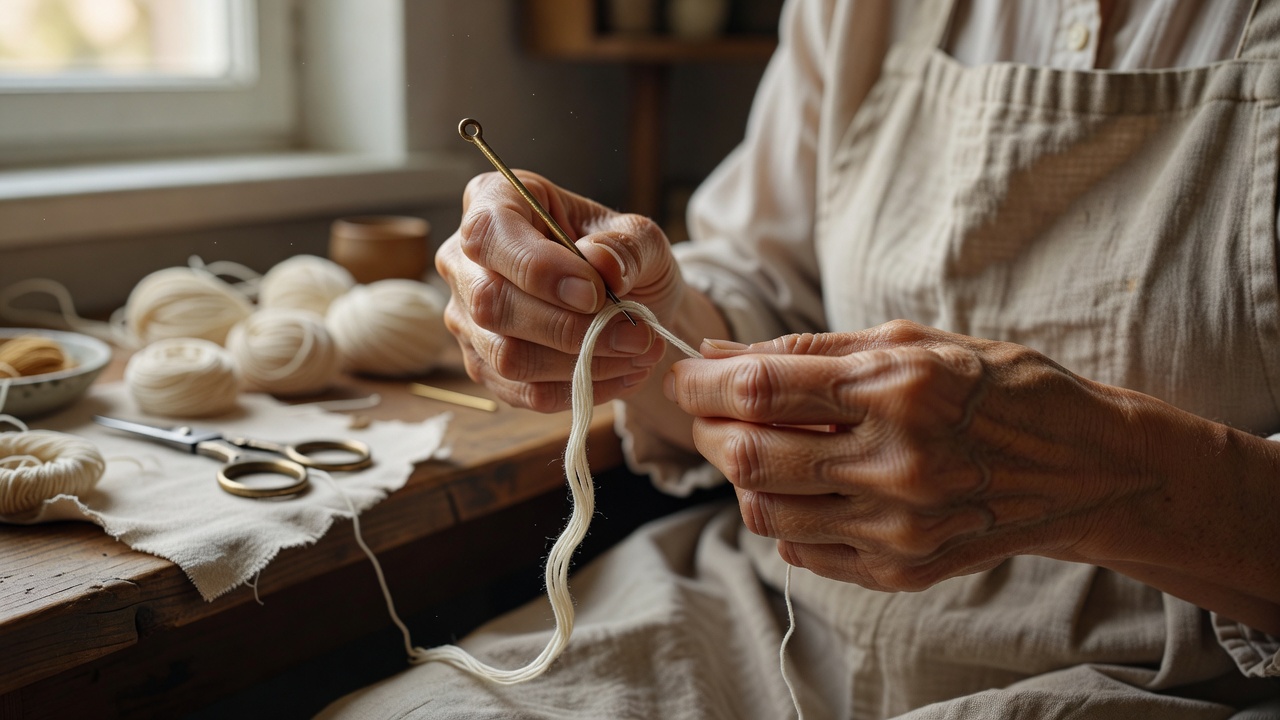
The Three Invaluable Hand Stitches
The Running Stitch
The needle travels rhythmically in and out of the fabric in an even dashed line. Ideal for basting seams, gathering ruffles, and decorative Japanese Sashiko patterns.
The Backstitch
With each advance, the needle comes up one stitch length ahead and plunges back down into the end of the previous stitch. It produces a strong, continuous seam as durable as a sewing machine lockstitch.
The Whipstitch
Wrapping around raw cloth edges in an angled spiral. Indispensable for sealing unraveling hems, securing pocket corners, or joining two felt panels flat.
"Tension must match the breath: pulled tight enough that the thread lies flush against the cloth, but gentle enough that the surrounding warp and weft do not pucker."First Practical Exercise
Visible Mending for a Frayed Hem
Instead of hiding a worn cuff or a small tear in your favorite work shirt, visible mending uses contrasting thread to celebrate the life of the garment.
-
01
Backing the Vulnerable Zone
Cut a patch of medium-weight linen 1.5cm wider on all sides than the torn area. Pin or baste it securely to the underside of the garment.
-
02
Establishing Anchor Lines
Using a contrasting stranded floss (such as unbleached ecru or indigo), stitch three parallel lines of running stitches across the tear, catching both the garment and backing patch.
-
03
Grid Reinforcement
Rotate the cloth ninety degrees and stitch perpendicular rows across the original lines, forming a resilient cross-hatch grid that secures the loose threads permanently.
If your repaired area looks rippled like a washed waffle, you have pulled your thread knots too tightly. Gently work the eye of your needle along each stitch line from the front to relax excess tension before knotting off.