Understanding Paper Grain Direction
Every sheet of machine-made paper possesses an internal grain direction. During industrial manufacture, cellulose fibers align parallel to the movement of the paper machine belt. If you attempt to fold against this orientation, the paper cracks and yields an unsightly, jagged seam.
To detect the grain without specialized instruments, gently bow a standard sheet along its vertical edge, then along its horizontal edge. The direction that presents minimal mechanical resistance indicates the grain direction. In bookbinding, the grain must always run parallel to the spine of the volume to prevent pages from curling up under atmospheric humidity.
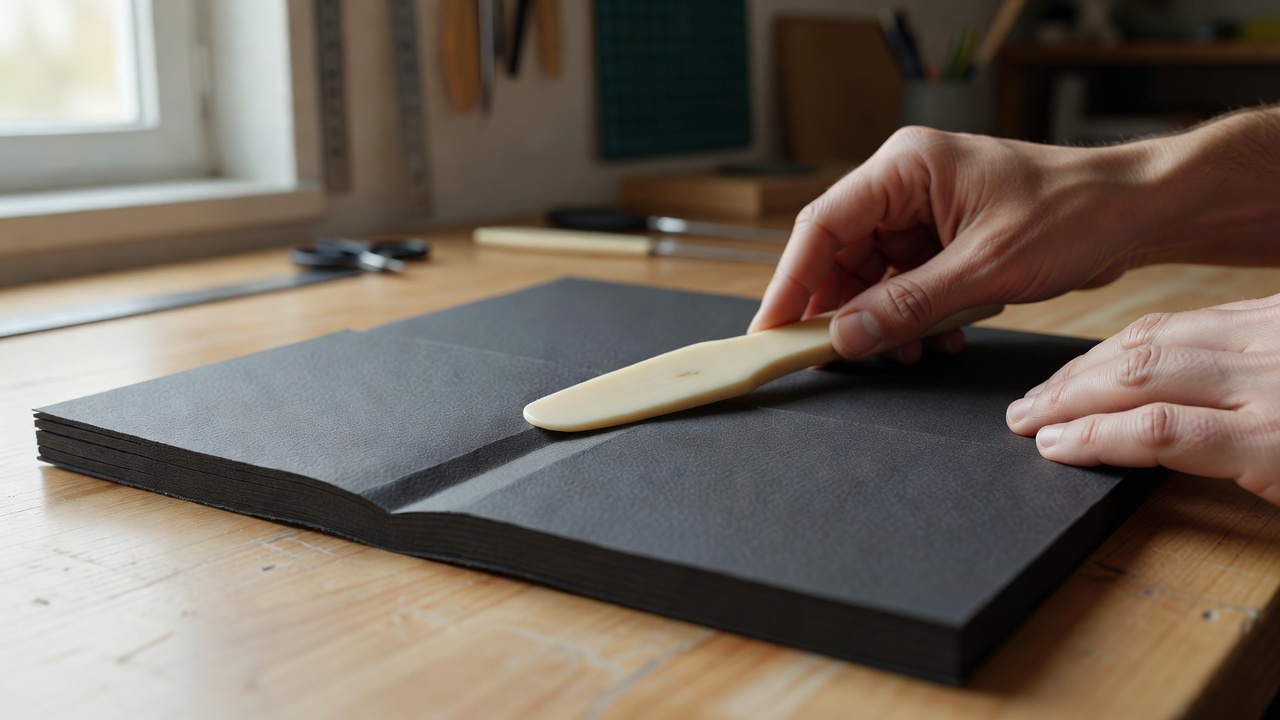
Essential Tool Alternatives
While professional bookbinders use genuine cattle-bone folders and lead weights, beginners can achieve equivalent results with household objects:
- The smooth bowl of a stainless steel dessert spoon (substitute for bone folder)
- An empty ballpoint pen that has run dry (substitute for scoring stylus)
- Steel culinary straightedge or steel kitchen ruler (avoids slicing plastic)
- An awl or clean upholstery needle pushed into a cork stopper
Constructing a 3-Hole Pamphlet Journal
This classic single-signature codex requires no liquid glue and withstands months of daily pocket use. It is the ideal introductory hand project.
-
01
Select and Tear the Pages
Take five standard sheets of 80gsm paper. Fold them together along the grain. Using a straightedge pressed firmly against the fold, tear gently rather than cutting to create an organic, deckled page edge.
-
02
Form the Protective Cover
Cut a piece of heavier card (approx 200gsm) roughly 3mm larger than the folded paper block. Nestle the pages inside the cover and clip the edges with clean wooden clothespins to prevent slipping.
-
03
Pierce the Three Stations
With an awl or thick needle, pierce through the spine fold at three points: the exact middle, and 2.5cm from the top and bottom edges.
-
04
Thread the Binding Cord
Enter from inside the center hole to the outside, proceed back through the top hole to the inside, traverse down through the bottom hole to the outside, and re-enter through the center. Tie off a square knot over the central bridge thread.
If your needle tears wide, ragged holes through the spine instead of clean round punctures, you are pressing the awl into flat air. Always place your folded signature into an open phonebook or dense foam block before pressing down.
Practical Storage & Safety Notes
Keep your craft utility blades retracted when set down on your table. Cut away from your non-dominant hand at all times, holding the steel ruler with fingers curled inward like a chef chopping vegetables. Store finished paper notebooks flat under a heavy art book for 24 hours to cure their spine folds permanently.